How to Take a Screenshot on a Laptop/Computer
Windows
To take a screenshot with Windows, the Windows 10 app SNIP and SKETCH is used (Microsoft is supposedly depreciating the Snipping Tool app in favor of the Snip and Sketch.)
1. Start the Snip & Sketch app.
There are 3 ways to Start the Snip & Sketch app:
1) In the search bar, start typing "Snip" (see the image below - the green box). Click "New" in the top left corner.
2) Press Windows Key + Shift + S
3) Click the Notifications area (see in the image below - what the green arrow is pointing at), then choose Screen Snip .

2. Once the app is open, your screen will darken and several tabs will appear on the top of your screen. If you are using multiple monitors, you can move the cursor to the monitor you wish to take a screenshot on.
3. It is now time to take the screenshot. What happens next depends on which tab you hit. The four tabs can be seen in the image below, and what happens with each tab can be seen in the table below the image.
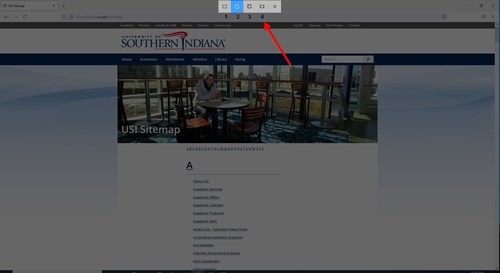
| Number | Mode | Function |
| 1 | Rectangular | Size a rectangle for your screenshot |
| 2 | Free-Form | Draw a free hand with your cursor for your screenshot |
| 3 | Window | Choose a specific window to capture in your screenshot |
| 4 | Full-Screen | Grab an image of your entire screen |
4. Once the image is taken, you will see a pop up in the lower right of your screen. Click the pop up. Once there you can crop, draw, save, copy and/or share the image to your liking. The COPY and SAVE icons are located in the top right. You can copy the image, then open your email or Word, and paste the image to send.
Mac
1. Pull up the image/screen you would like to capture.
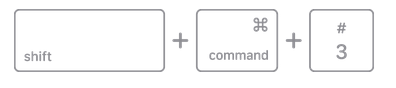
2. Press and hold Shift + Command + 3 to screenshot your entire screen. If you would rather use the rectangular tool, press Shift + Command + 4 instead.
Full Screen Capture
Rectangular/Partial Screen Capture
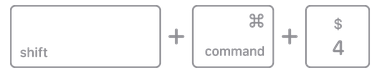
When using Shift + Command + 4, a crosshair will appear. Outline the image you would like to capture with the crosshair and release your mouse or trackpad button.
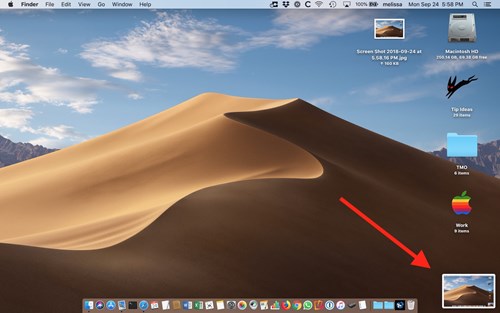
3. The screenshot will briefly appear in the bottom right corner of your screen. Click the image before it disappears to edit or crop it. The screenshot will automatically save to your desktop and will be named the time and date the screenshot was taken.